
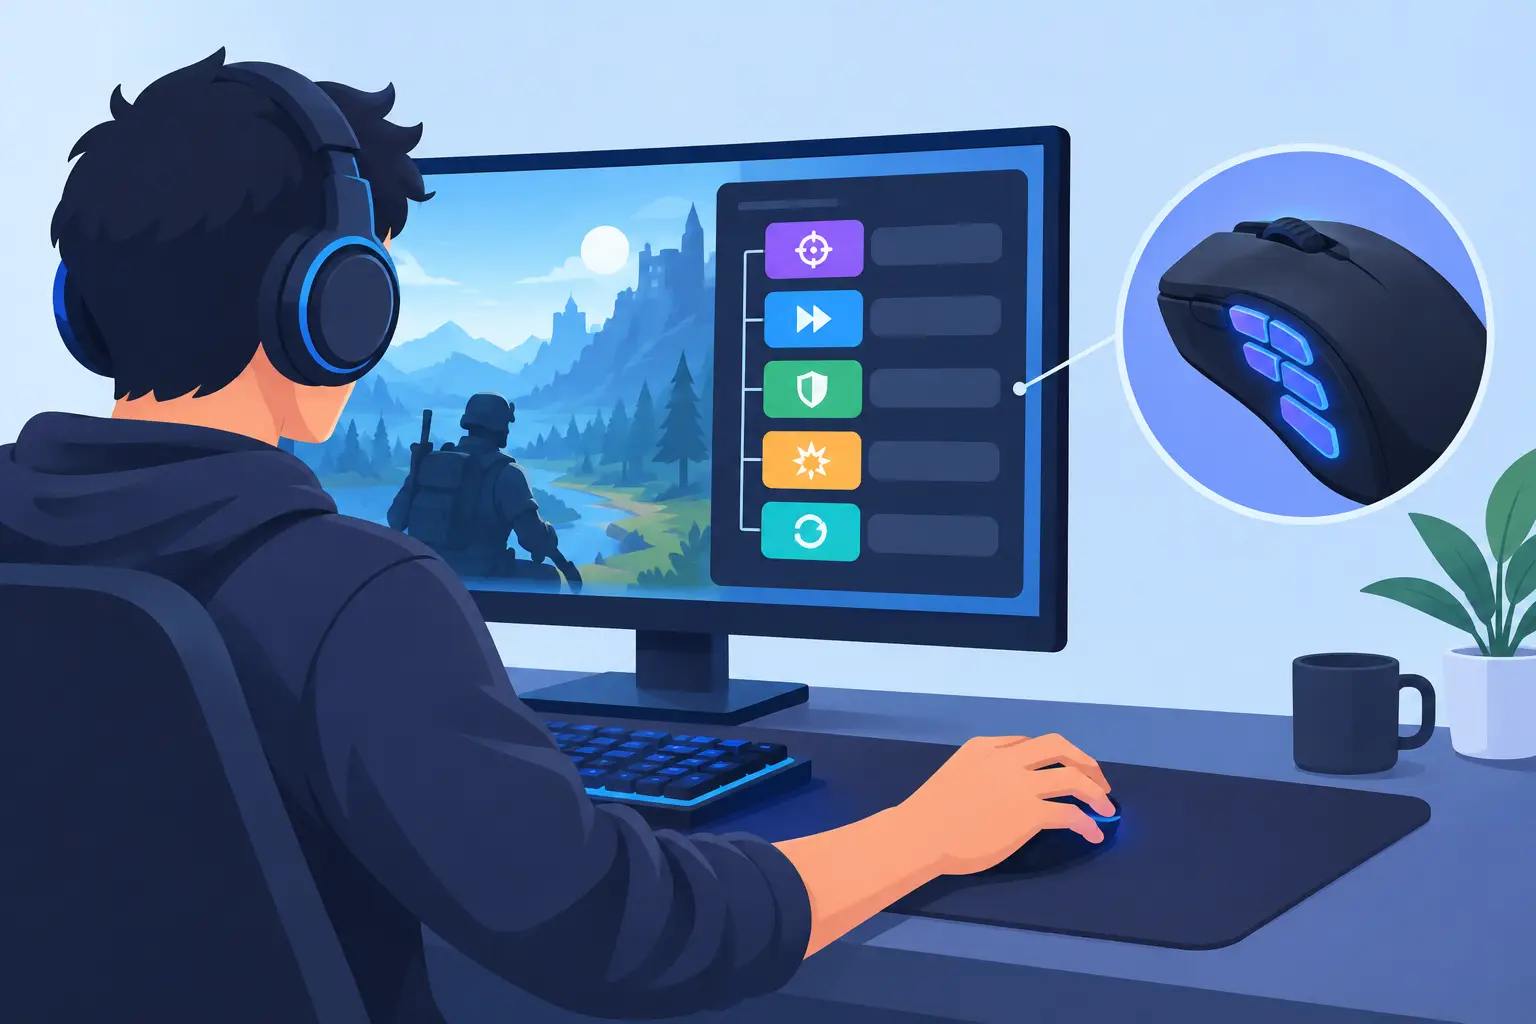
A macro should remove friction, not add another thing to remember. If you have to look down, reach across the desk, or wonder whether a command is allowed, the binding is working against you. Learning how to assign gaming macros starts with a simpler question: which repeated action is pulling your hand away from the game?
The best macros live close to your natural position. They handle predictable, low-risk inputs while your primary keys and mouse buttons stay reserved for movement, aim, and reactions. That is the difference between faster input and a cluttered control scheme.
Start With Actions You Repeat
Do not begin by assigning every empty key. Begin with a match, a session, or a raid. Notice where you repeat the same sequence, reach for a menu, or lose focus while searching for a command.
Good macro candidates are usually actions with a clear beginning and end. Push-to-talk toggles, map markers, inventory sorting, emotes, utility commands, weapon inspections, camera controls, and non-combat communication are common examples. For creators who game and stream from one desk, scene changes, clip markers, microphone mute, and music controls can be just as useful.
A macro becomes less useful when timing must change constantly. A fighting-game combo, a recoil pattern, a heal sequence in a competitive match, or anything that replaces skill-based execution can create problems fast. It may also violate the game’s rules. If the game expects one physical input for one action, keep it that way.
Think in terms of friction, not spectacle. The goal is fewer interruptions.
How to Assign Gaming Macros in Your Software
Most programmable keyboards, mice, control pads, and smart surfaces follow the same basic logic. The labels vary, but the process is consistent.
1. Define the command before recording it
Write the outcome in plain language first: “mark enemy location,” “toggle Discord mute,” or “open inventory tab.” This prevents the most common macro mistake: recording a sequence without knowing what it is meant to solve.
For game-specific commands, check the game’s own keybind menu before opening peripheral software. Assign a clean in-game shortcut first, then map that shortcut to your macro trigger. This gives you a stable chain: game action, keyboard shortcut, hardware control.
2. Choose a trigger you can find by feel
A macro only saves time if you can trigger it without breaking visual focus. Mouse side buttons work well for immediate actions, but avoid overloading them if they affect aim or grip. Keyboard macros suit deliberate commands, especially those outside your movement cluster.
Dedicated controls are useful when the action needs a distinct physical location. The trade-off is desk space. A separate macro pad gives you more buttons, but it also creates another device to reach for, power, and position.
This is where an embedded control surface changes the layout. KAGE GhostPad places configurable pressure zones inside the desk surface already under your hand, so commands can sit beside your mouse path rather than beside your keyboard. The control is present when you need it and visually quiet when you do not.
3. Record or build the macro
Open your device configuration tool and select the button, key, or zone you want to program. Choose the macro function, then either record the keystrokes or enter them manually.
For simple commands, manual entry is usually cleaner. You can confirm every keypress and remove accidental delays. Recording is better for short, fixed sequences, but inspect the result before saving. Software often captures pauses between keystrokes that feel invisible when you record them and painfully slow in use.
If the software offers press, release, hold, toggle, or repeat behavior, choose deliberately. A push-to-talk command should normally activate while held. A microphone mute or media control should toggle. A repeated action should only repeat when the game permits it and when you can stop it instantly.
4. Name the macro like a command
“Macro 03” is not a name. Use labels that communicate function at a glance: “Map Ping,” “Mute Mic,” “Loadout Two,” or “Clip Moment.” Clear naming matters once you create profiles for several games.
A good profile is restrained. Six memorable controls beat sixteen forgotten ones. Leave room for actions you discover through real play.
Keep Delays Tight and Intentional
Macros are often slowed down by default delays. Some software adds a pause after every input. That may be necessary for an older application or a menu that needs time to load, but it is rarely the right default for gaming.
Start with no delay or the shortest supported delay, then test. If an action fails, add only the time needed for the game to register it. A 50-millisecond adjustment can be enough. Avoid long, automated chains that run without your attention. They are brittle, hard to interrupt, and more likely to conflict with game rules.
Timing also depends on connection quality, game updates, and system performance. A macro that works perfectly in a practice range may fail under load in a live match. Build for reliability, not theatrical speed.
Use Profiles Instead of One Giant Layout
A single global macro map sounds convenient until the same trigger means different things in different games. That is how you accidentally mute your mic when you meant to drop an item.
Create profiles around contexts: one for your primary competitive game, one for single-player or simulation titles, one for streaming, and one for desktop work. Keep shared actions in the same location when possible. For example, use one familiar zone or button for mic control across every profile. Consistency reduces hesitation.
Automatic profile switching can help, but test it carefully. If the software detects the wrong executable or fails to switch after an update, your commands may land in the wrong profile. Manual switching is slower, yet often more dependable for tournament play or important sessions.
Stay Inside the Rules of the Game
Not every macro is allowed. Many games permit remapping and single-action shortcuts but prohibit automation that performs multiple gameplay actions from one input. Anti-cheat systems and tournament rules may be stricter than a game’s standard terms.
Before assigning a macro, check the game’s rules and the policies for any league or server you play on. Treat ambiguous automation as a reason to simplify. Convenience is not worth a suspension, a lost account, or a compromised competitive match.
A useful line is this: map controls, do not automate decisions. One press can open a map, toggle voice chat, or trigger a permitted in-game shortcut. It should not play the game for you.
Test the Macro Where It Matters
Do not finalize a macro in the configuration window. Test it in a safe environment first, then in a real session. Watch for missed inputs, double triggers, accidental activations, and conflicts with existing keybinds.
Pressure-sensitive zones, thumb buttons, and low-profile triggers each have different feel. A command placed too close to a resting position can fire by accident. A command placed too far away adds reach and defeats the point. Move it until it feels available without becoming intrusive.
Give each new binding a few sessions before judging it. At first, even a well-placed macro can feel slower because your muscle memory is still using the old route. If you still hesitate after several sessions, simplify the action, relocate the trigger, or remove it. Not every useful idea deserves a permanent control.
Build a Control System, Not a Button Collection
The strongest setups have a clear hierarchy. Movement and combat stay on the controls you already trust. Fast secondary actions live within easy reach. Occasional commands move to a separate layer, profile, or surface zone.
That hierarchy protects focus. You do not need more buttons. You need the right command at the point where your hand already is.
Start with one repeated action this week. Assign it, test it, and make sure it feels invisible before adding the next. A clean desk and a clean control map are built the same way: one unnecessary reach removed at a time.
Leave a Reply